My Patriot Supply
07 Mar, 2025
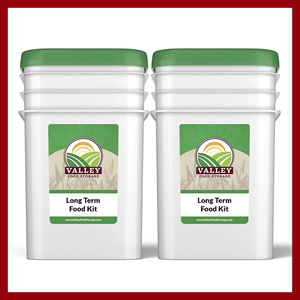
My Patriot Supply offers long and short term food storage kits, the first ever emergency survival coffee...